

I don’t know about you, but I don’t like lugging around a camera while I’m on vacation. Oh, who am I kidding…I don’t even have a “real” camera anymore and I wouldn’t have a clue which one to buy if I wanted one.
What I do have is an iPhone and I carry it with me all the time so I really don’t feel like I need a separate camera. I do like learning ways to take better vacation photos as I go along.

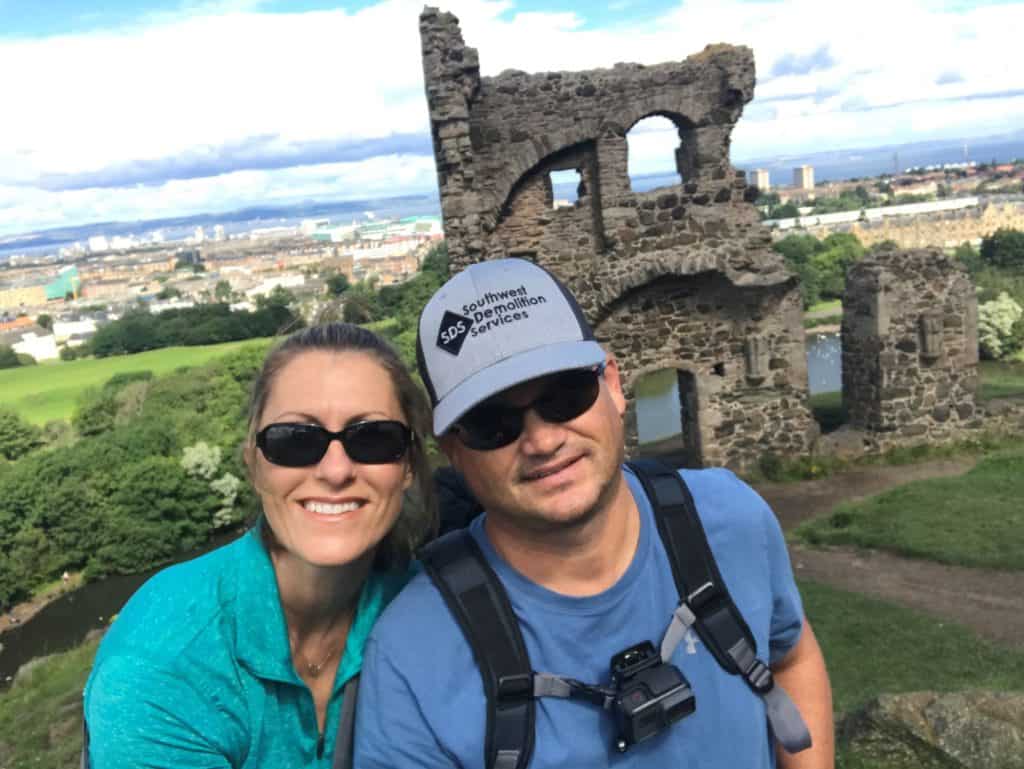
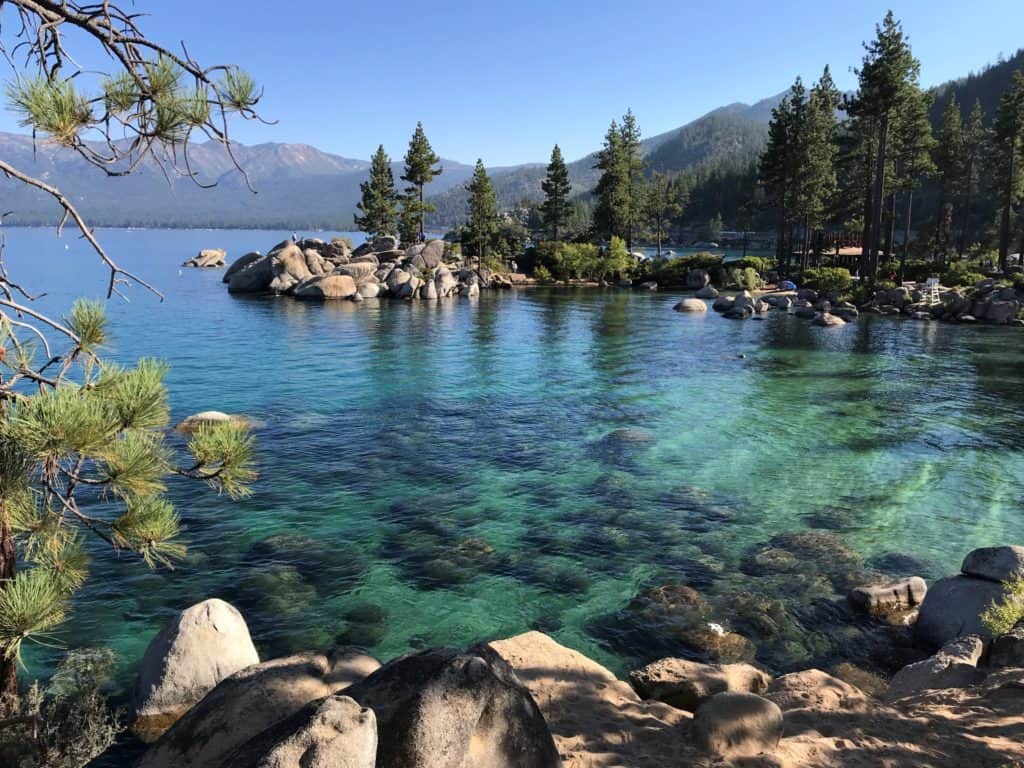
I’ve taken all of my vacation photos on my iPhone…and I’ve gotten some stunning photos! See for yourself – I took all of the photos in this post with my iPhone! By the way, I don’t have the latest and greatest iPhone either. All of these photos were taken with a 7S or older iPhone.

I take a TON of photos when I travel. It’s one of my favorite things to do. I love trying to get a great shot. Once I’m back home, all those amazing photos help take me back to that place in an instant. Through the years, I’ve learned a few tricks that have taken my pictures up a notch and I think they can help you do the same. Here they are:

1. Clean the Lens
This is a quick and easy one, but it is easy to forget, so I thought it was worth mentioning. We touch our phones constantly and, especially if you’re on vacation, you may have anything on the lens from fingerprints to dirt, sand, or water drops. You don’t need anything fancy. Just use your shirt or other relatively clean and dry fabric to wipe it off before snapping that shot.
2. Use the Grid
Go to your settings & then to your camera. You’ll see “Grid” there. Turn it on. Now, when you go to take a photo, you’ll have grid lines. These are extremely helpful when trying to center an object or make sure your picture is straight.

3. Take a BUNCH of Pictures
I typically take several hundred pictures when I’m on vacation. I rarely take just one picture of anything. The way I look at it is, I may only visit this place once and I have one shot to get that perfect photo. It’s not unusual for me to take five pictures of one thing.
I’ll try it at slightly different angles, slightly different exposure, and focusing on different spots. Then, on my way home (usually on the plane), I go through them all and delete the bad ones and keep the good ones. So if I have five pictures of one thing, I’ll narrow it down to the best one and get rid of the other 4.
Pictures take up a lot of space on your phone, so don’t forget to go to your deleted pictures and permanently delete them when you're done.
4. Take Selfies Using Your Earphones
Ok, I JUST learned this one, and my mind is blown! I had no idea you could do this. You know how you have to get your hand in really weird positions AND try to keep your fingers and thumbs out of the picture AND try to look natural and cute when you take a selfie? I’m pretty sure we’ve all experienced that.
Well, just take out your earphones, plug them in, and now you can take a picture by clicking the volume up on your earphones!!! 🤯

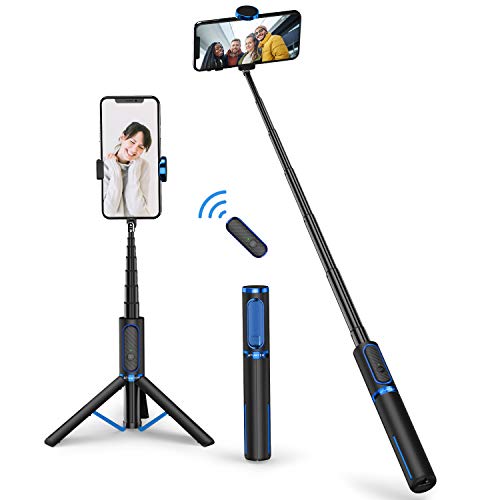
5. Use A Selfie Stick
I have a love/hate relationship with selfie sticks. Honestly, no one ever looks cool pulling that thing out and they can be a little cumbersome. BUT, you WILL get much better selfies with one (no stretching out your arm).
Here's one that is nice and compact and will work for several iPhone models. Play around with it a little before you head out on your trip. There's usually a bit of a learning curve and you want to be able to use it quickly and easily. Also, practice getting the perfect angle so the stick isn’t in your photo.
6. Use the Volume Up Button
Anytime you take a landscape photo, the easiest way is to snap the picture using the volume up button on the side of your phone rather than the button that appears on your screen.
7. Tap To Focus
Sometimes your phone needs a little help focusing on what you are trying to capture. Just click on the item you want to appear crisp and clean. A little yellow box will appear. This is where your phone will focus. Let’s say you’re trying to get a great picture of a beautiful flower in a field.
If there is a breeze and things are moving around, you're phone may jump around on what it focuses on. If that’s the case, instead of tapping, hold your finger down on the item until you see AE/AF LOCK at the top of your screen. That means the focus is locked in place.

8. Adjust The Exposure
Once you focus, you’ll see a line and a little yellow sun next to the focus box. Hold your finder on the sun and move it up or down to adjust the exposure. This can really help out if it’s a little too bright or a little too dark.
9. Turn On HDR
If you are trying to take a picture of something with both light and dark areas, turn on HDR – High Dynamic Range. “HDR” will appear on your camera screen when you begin to take a picture, next to the flash symbol. Just select it to turn it on.
Now, you will get more of the details in both the dark and light areas of the photo. I also like to keep the normal photo, so I can compare them and keep the best one. To do this automatically, go into your camera settings & turn on “Keep Normal Photo” at the bottom under HDR.

10. Use Natural Frames
You can often find “frames” in nature such as trees, rocks, etc. This can add a little interest to your photo.
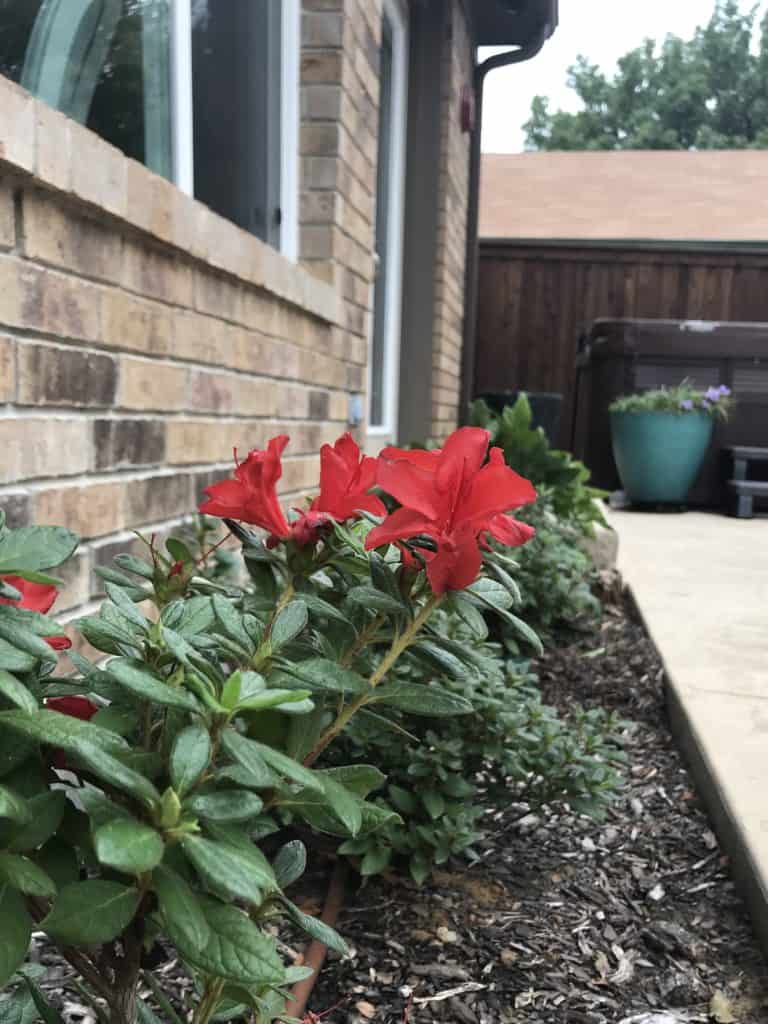
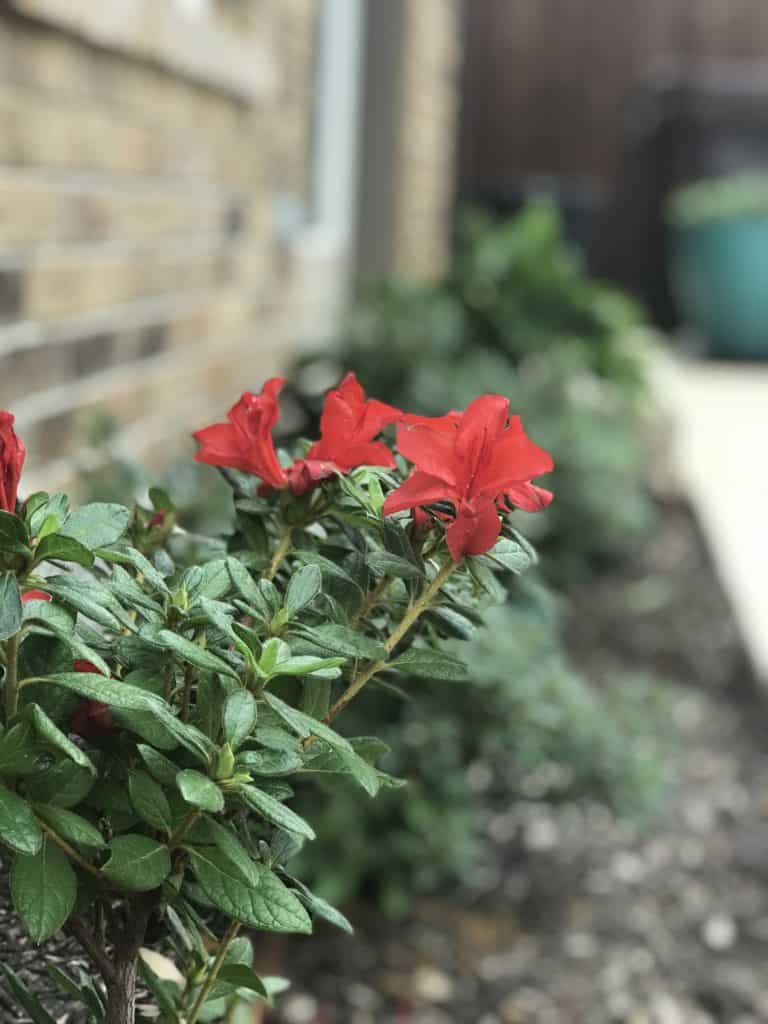
11. Portrait Mode
I LOVE portrait mode. It basically focuses on one thing and blurs out everything else. It makes the object you want to capture pop! When you are about to take the photo, just scroll until “PORTRAIT” is highlighted at the bottom of the camera.
Once you switch to portrait mode, it will tell you to move further away. Just slowly move away until the “Depth Effect” at the top turns yellow, then click!
12. Don’t Try to Fit Too Much Into Pano
Like Portrait, Pano is another mode you can scroll to at the bottom (short for panoramic). If you happen to be somewhere with gorgeous vast landscapes, you may need a wider photo to capture all that beauty.
That’s when you want to try out Pano. But beware…if you try to go too wide and fit too much into the picture, you’ll end up with a weird-looking curved/caved-in landscape – NOT what you want.
When you switch to PANO mode, a line will show on your camera. Keep your phone vertical. Click the photo button, then slowly move your phone from left to right, using the line to help you stay level.
To avoid The curved look, don’t try to take a picture all the way from your left side to your right. Instead, just take go a foot or so from left to right. Practice it a few times and you’ll be a pro in no time.

13. Try Different Angles
Some of the most interesting photos can come from playing around with different angles. Though I love a good straight-on, perfectly centered pic, a funky angle can look super cool too! Play around with it.
👍ARE YOU TRAVEL OBSESSED? Join ‘Our Travel Obsession' Facebook group!
14. Touch-Up Photos After The Fact
Once you are done taking the photo, try out some of the great editing tools your phone has. I recommend creating a copy of the picture first. When scrolling through photos, look at the picture you want to copy. At the bottom left, there is a box with an up arrow. Click on that and then select “copy photo.”
Now you will have 2 of the exact same photo. You can open one of them and play around while keeping the original version safe in case you really mess it up.

Now, pull up the copy and select Edit (top right). Photo a little crooked? You can fix that. Are colors not as bright as they were in real life? You can fix that. Wish you had zoomed in bit more? You can fix that. Just get in there and play around.
That’s It
Well, that’s all I got! I hope you learned a couple of new things. Part of the fun is trying out different things when taking pictures and figuring out what works best for you. Having good pictures helps you to preserve all those memories. And keep in mind, they can’t all be perfect gallery-quality pictures…the mess-ups are part of the memory too!

Want more iPhone photo tips? Apple has a TON of how-to videos HERE. If you have other tips, please comment below and let me know. If you found this helpful, please don’t forget to share it! 😊
Check out these posts to see some of my best iPhone photos:
Until next time…
Until next time…

About The Author
My mission is to inspire and empower families to prioritize travel now, creating unforgettable memories and deeper connections with their loved ones.
I provide guidance and practical solutions to help busy parents integrate travel into their lives, fostering joy, fulfillment, and stress-free adventures. Don’t wait until it’s too late; the time to travel is now.
Learn more about me & My Travel Obsession here.
My Favorite Travel Booking Apps & Websites
⭐MY TRAVEL OBSESSION:
- Products & Services – My Travel Obsession's travel planning products, services, and freebies!
- What To Pack – See all of my personal favorite travel items.
- Travel Resources – Resources that I use most when planning, booking & traveling.
🏡FOR FINDING GREAT PLACES TO STAY:
- VRBO – My #1 recommendation for family-friendly lodging options.
- Expedia – My favorite for hotel bookings.
🚗FOR CAR & RV RENTALS:
- Discover Cars & Sixt – My favorite sites for rental cars worldwide.
- Turo.com – Rent a car from an individual owner – It's like VRBO for cars!
- RVShare – Rent an RV for your next family road trip!
🚁FOR ACTIVITIES, EXCURSIONS, & TOURS:
- Viator & Get Your Guide – The best sites to find and book activities & excursions.
- Gypsy Guide – An AWESOME audio tour app. ALWAYS check to see if they have a tour available.
🩺FOR TRAVEL INSURANCE:
- SafetyWing – The lowest-cost travel insurance out there. Several options starting as low as $42 for 4 weeks of coverage.
✈FOR FINDING GREAT FLIGHT DEALS:
- Going (formerly Scott's Cheap Flights) – My #1 recommendation for saving big $$$ on flights. Sign up for a free 14-day trial.
🥾FOR HIKING:
- AllTrails – THE APP for hikers. I recommend paying for the pro version so you can use the navigation feature while hiking.
Once you're done here, head to the homepage to explore or jump to one of these categories: Texas Travel ~ US Travel ~ International Travel ~ Travel Tips & Tricks ~ Travel Gear & Gadgets ~ What To Pack ~ Travel Planning ~ Shop